MQTT Stopwatch / Display
MQTT Stopwatch / Display
Parts to Buy
Parts to 3d Print
Mechanical Assembly
CircuitPython Setup
Software
The Secrets File
The Config File
Message Protocol
Setup Your Own Broker
Extending
Customizing / Extending (MQTT Stopwatch / Display)
The display can be extended in either the horizontal or vertical direction with minimal changes.
Mechanically, just attach more panels. If you extend horizontally (wider display), then just print more of the provided joiners and "keep on going". If you extend vertically ("taller"), then you'd need to design new joiners to make the connection. Just extend in the direction of the silk-screened arrows.
Electrically, you'd need another ribbon cable (which typically come with each Matrix Panel) for each added display panel. You'd also need more red/black power cables which are more problematic. They are purchasable from Adafruit as noted on the Parts to Buy page, however each purchased cable looks like the original "2-panel" harness. You'll need to do some cutting and soldering to extend the cables.
Software-wise, there's a couple things you'll need to do. First, you'll need to configure the software to recognize the new size of the panels. This is easy. Note in the "code.py" module where the MatrixPortal is setup, and change the height or width parameter as appropriate. Note that each Matrix Panel is 32 pixels tall and 64 pixels wide.
# --- MatrixPortal setup ---
matrixportal = MatrixPortal(status_neopixel=board.NEOPIXEL, height=32, width=128, debug=False)
Next adjust the software to take advantage of the new pixels available to it. If you're just making it wider without adding new fields this is pretty easy (note that CircuitPython's displayio library does not put any explicit limit on the width of text fields. It will happily write text as wide as you get it (although it may fall off the edge of the screen or overwrite a later field if you have one)). So for a simple width-wise extension, you don't need to do anything other than change the "protocol-defined wrapping" behaviour for the mode fields (the text fields to the right of the time display).
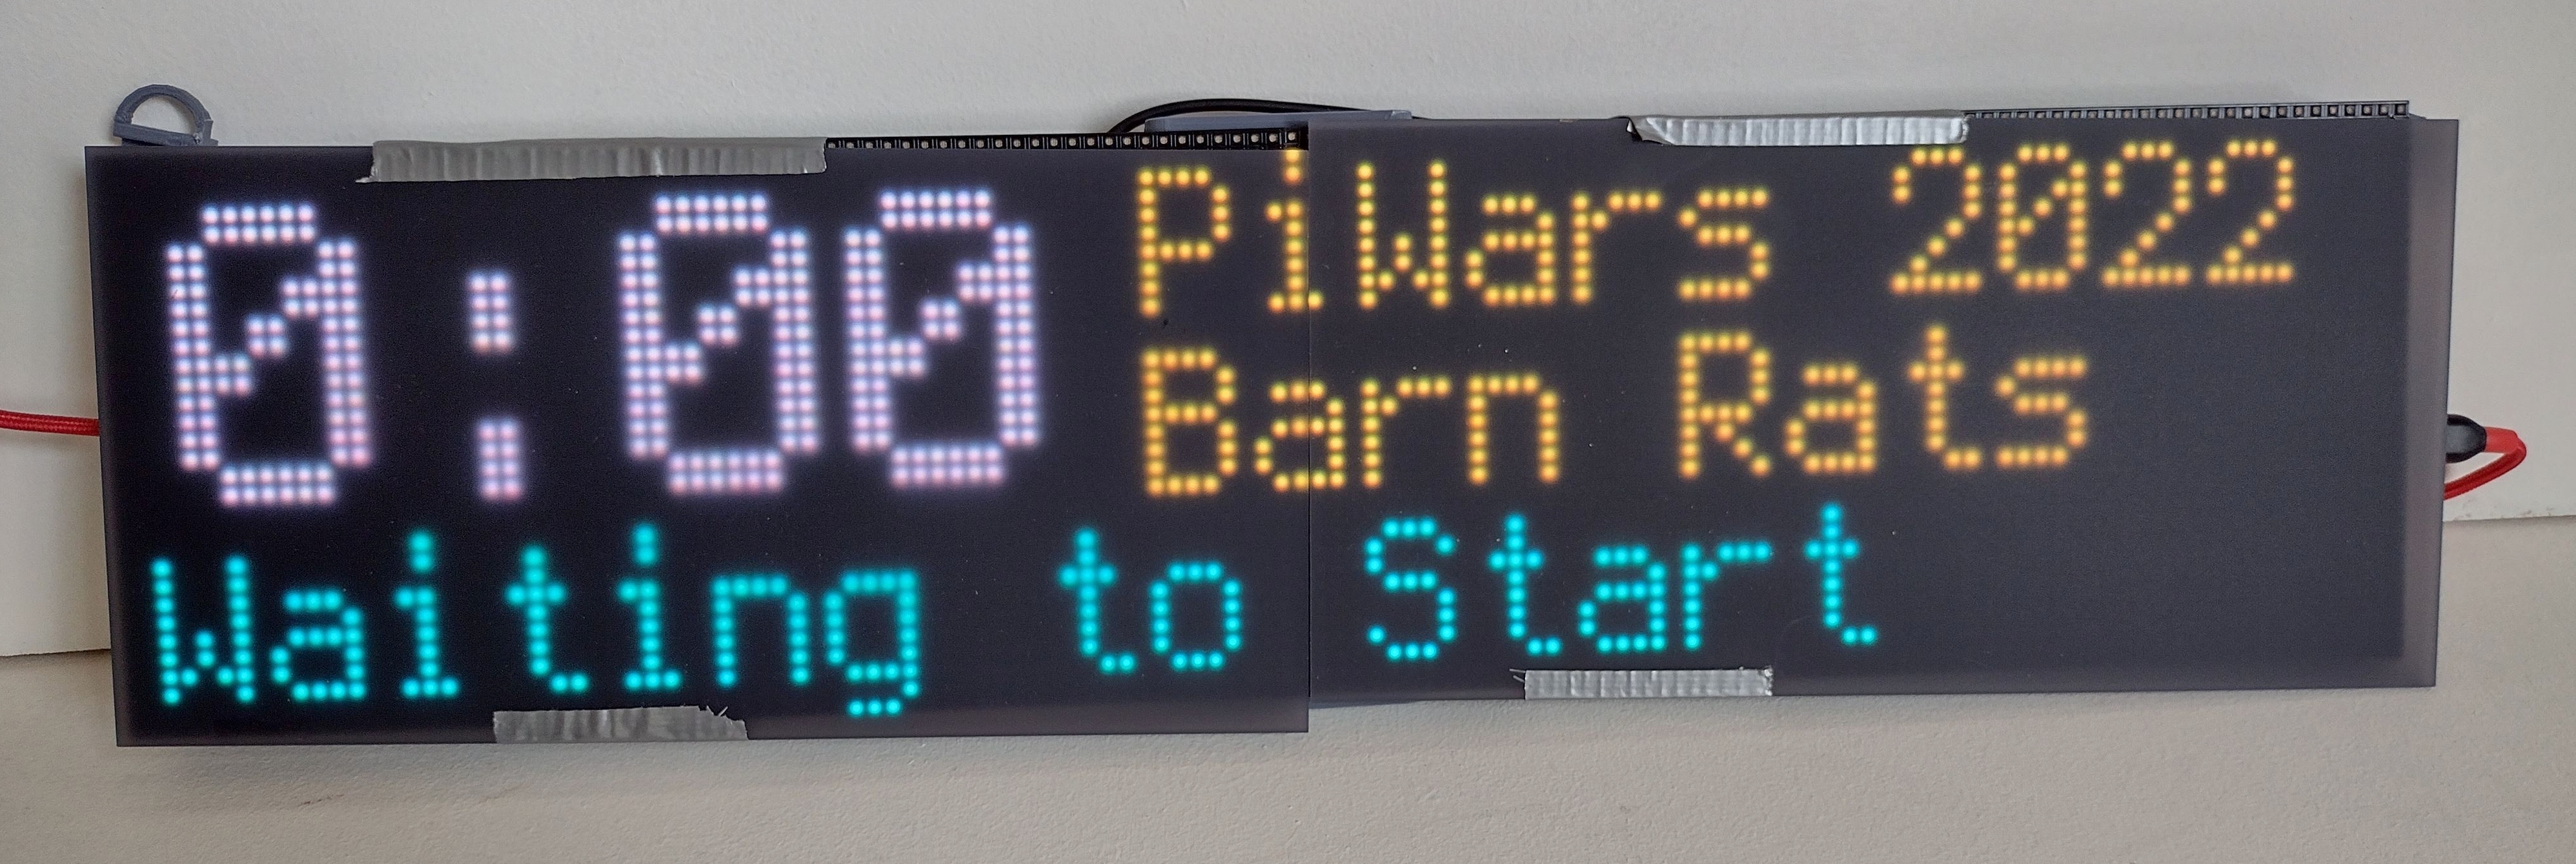
That code is in the block that is shown below. Note that at the font-size used, you can fit 11 characters across the width of a single panel, or 22 across the full width of 2 panels. The bottom "status" line reaches all the way (full 22), while the 2 mode fields (right of time display) are each 11 characters long.
In the MQTT protocol, if a status message has a colon (":") character in it, it gets split there and the part before the colon is considered to be mode information (which is split between the 2 11-character mode fields right of time), and the part after the colon is considered to be status information which goes to the bottom 22-character status field. If there is no colon in the message then the full message goes to the bottom status field.
So if you make add additional panels to make the display wider, just change the wrapping behaviour in the code block shown below
    if topic == topic_status:
        temp = message.split(":")
        if len(temp) > 1:
            mode = temp[0]
            status = temp[1]
            if len(mode) > 12:
                splitmode = mode.split(" ", 1)
                mode1_text.text = splitmode[0]
                mode2_text.text = splitmode[1]
            else:
                mode1_text.text = mode[0:11]
                mode2_text.text = mode[11:22]
            status_text.text = status[0:22]
            status_text.color = color=colors.TFT_BLUE
        elif len(temp) == 1:
            status_text.text = message[0:22]
            status_text.color = color=colors.TFT_BLUE

    elif topic == topic_warning:
        status_text.text = message[0:22]
        status_text.color = color=colors.TFT_RED
If you make your display TALLER though, you'll probably need to add additional text fields (they call them "Label" fields) to take advantage of the new space, and you'll need to figure out what to write into them. The code below shows how the existing fields are defined. Just make more using the same structure.
status_text = Label(font, x=2, y=25, color=colors.TFT_BLUE)
group.append(status_text)
status_text.text = ""

mode1_text = Label(font, x=56, y=5, color=colors.TFT_ORANGE)
group.append(mode1_text)
mode1_text.text = config.welcome_banner_1

mode2_text = Label(font, x=56, y=15, color=colors.TFT_ORANGE)
group.append(mode2_text)
mode2_text.text = config.welcome_banner_1
Clear as mud, right??